LUMAGROW

Industry Application

LED Grow Lighting for Propagation & Seedlings

Propagation and seedling lighting is planned around uniformity at tray level, modest PPFD and a spectrum that keeps young plants compact, because the limiting factor in a propagation room is rarely peak intensity — it is whether every cell in every tray receives the same light. High-output flowering fixtures cannot simply be dimmed across all racks without sacrificing the even distribution that propagation depends on.

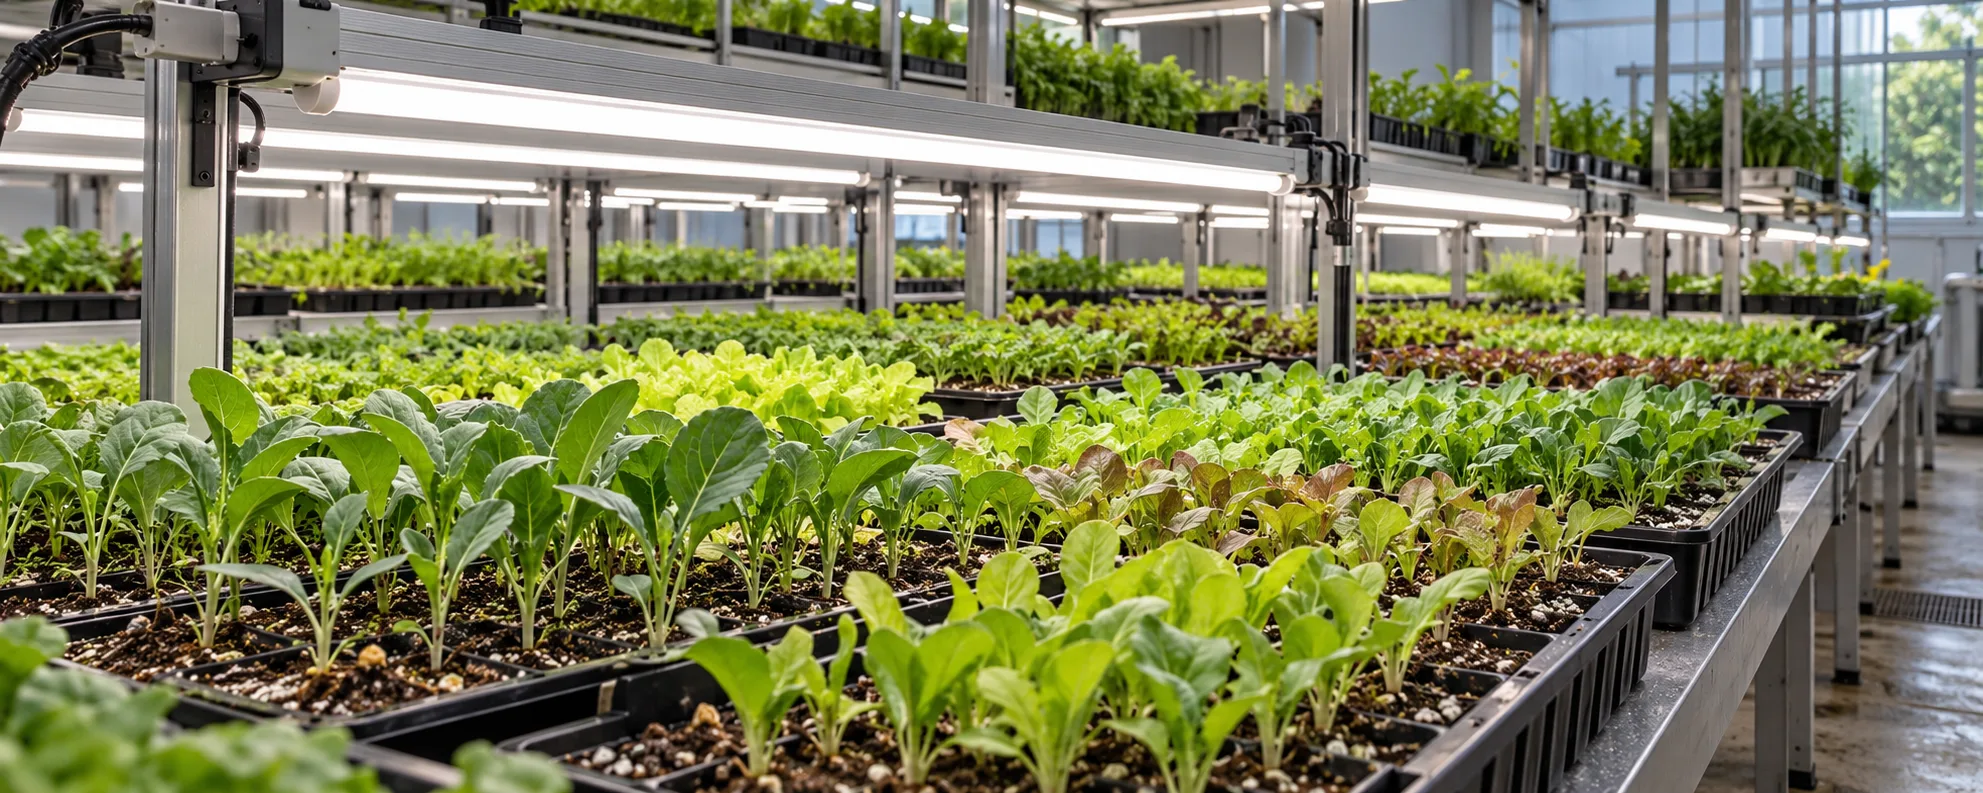
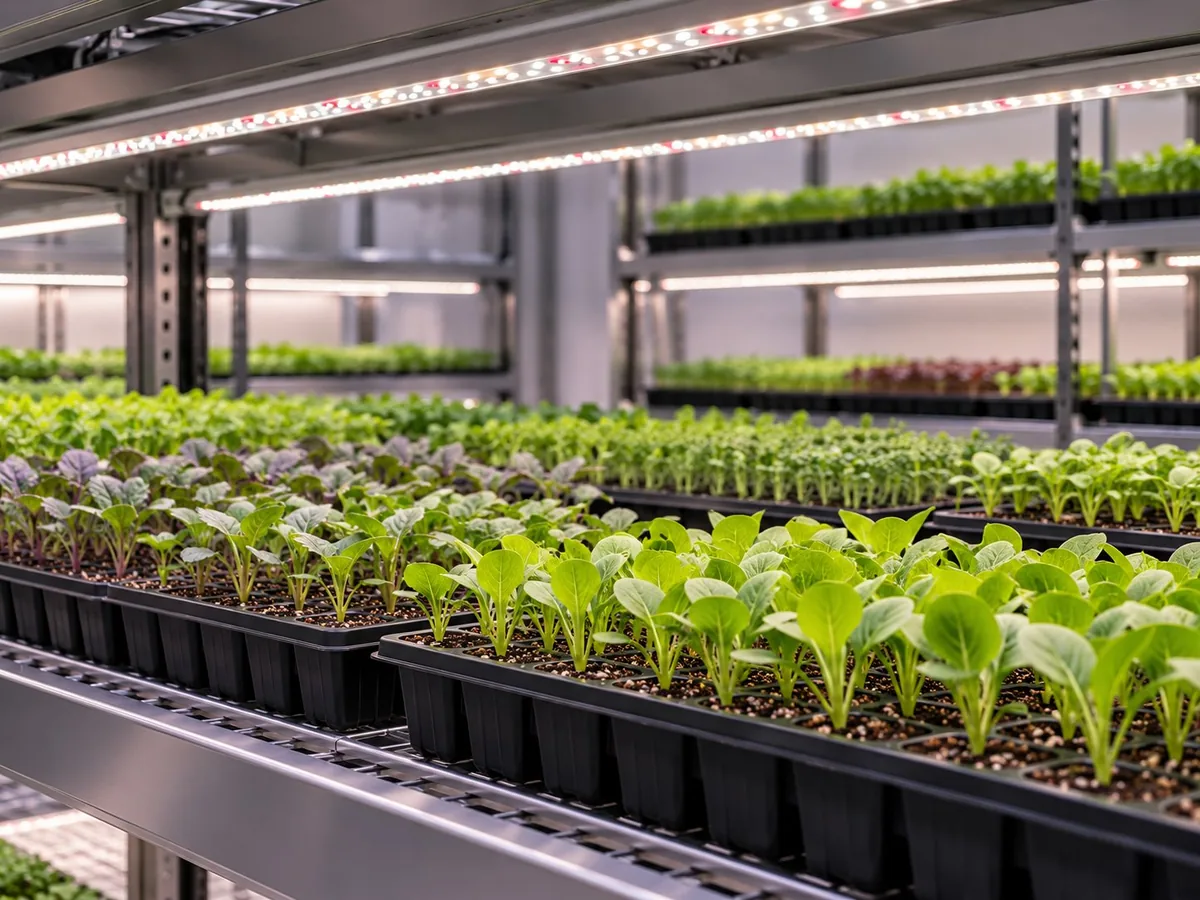
Illustrative view of seedling propagation trays under LED propagation lights

Illustrative image of a typical propagation & seedlings environment — not a customer installation photograph.

Technical focus on this page

Tray-level uniformity, low intensity and spectrum for compact growth

How this application works

What drives lighting decisions in propagation & seedlings

Young plants have small root systems, limited leaf area and little capacity to use high light. The useful target is a moderate DLI delivered evenly, so that every tray position develops at a similar rate. That is why propagation rooms are laid out as a grid of trays under a grid of low-profile fixtures, and why a single strong fixture in the centre of a room is a poor design even if the average PPFD looks adequate.

Uniformity problems in propagation show up as stretching and uneven transplant readiness. Trays at the edge of a shelf, at the end of a bar, or in the shadow of a hanging controller develop slower and taller, which pushes back the whole batch and complicates scheduling into the next stage.

The environment is also the harshest in the facility for hardware: misting, high humidity, frequent cleaning and dense tray handling. Fixtures need sealed housings, protected drivers and a mounting method that survives regular tray removal without being disturbed.

Application challenges

What makes propagation & seedlings lighting difficult

These are the constraints that decide whether a lighting plan survives contact with an operating facility.

01

Tray-level variation, not room average

A propagation room is judged by its weakest tray. Every shelf edge and bar end is a potential low-light position, and because trays are moved weekly, the same physical position affects a different batch each cycle.

02

Stretch is a light-distribution problem

Seedlings stretch towards the light source when intensity or uniformity is insufficient. Raising the average PPFD does not fix stretch in a dim corner; redistributing the light does.

03

High humidity and misting

Propagation rooms combine overhead misting with high humidity and frequent cleaning. Fixtures rated for dry rooms can fail early, and unsealed drivers are the usual failure point.

04

Many small loads

Propagation is lit by many low-power fixtures rather than a few large ones, which multiplies connection points, circuits and maintenance visits. Wiring and control architecture matter as much as the fixture itself.

05

Transition to the next stage

Plants grown under low intensity can struggle when moved to a high-PPFD vegetative room. The propagation recipe should be planned as the first step of a ramp, not as an isolated optimum.

Lighting requirements

How to specify lighting for propagation & seedlings

Each metric below has to be set from the crop, structure and operating practice — not from a generic watts-per-square-metre rule.

ParameterPlanning targetWhy it matters
PPFD at tray levelCommonly 75–200 µmol/m²/s depending on crop and stageYoung plants are easily over-lit; intensity should be the minimum that produces compact growth. Extension guidance for rooting cuttings puts the maximum desired intensity at around 200 µmol/m²/s until root initials have formed, with 50–75 µmol/m²/s of supplemental light on cloudy days and at night (Runkle, Improve rooting of cuttings).
DLIRoughly 6–12 mol/m²/day for seedlings and clones; higher for established transplantsDLI combines intensity and photoperiod into the dose the young plant actually receives. Rooting trials across a DLI range found root growth increasing with the daily dose, which is why the recipe is stated as a DLI and then delivered through PPFD and hours (Lopez & Runkle, Managing light during propagation).
Photoperiod16–18 h typical; 24 h only at low intensity and with cultivar confirmationLong photoperiods at low intensity reach the target DLI without high peak PPFD near the leaf.
UniformityMinimum-to-average of about 0.85 across the tray area is a reasonable design aimUniformity is the defining quality metric in propagation; it controls batch consistency.
SpectrumFull spectrum with a meaningful blue share; avoid extreme red-only recipes for young plantsBlue light contributes to compact growth; a balanced spectrum reduces stretch under low intensity.
Mounting distance and beamClose mounting with a beam that covers the full tray width, no visible hot spotLow ceilings in propagation racks leave little room for a narrow beam to spread.
Ingress protectionIP65 for misting and washdown rooms; sealed driversHumidity and cleaning are continuous, not occasional, in propagation.

Reference data

Comparison tables for planning

Planning references compiled from horticultural lighting literature and standards. They are starting points for your own trials, not guarantees of performance.

Reference propagation targets by crop type
Crop / stagePPFD (µmol/m²/s)PhotoperiodDLI (mol/m²/day)Note
Vegetable seedlings (tomato, pepper)100 – 20016 – 18 h6 – 12Compact transplants; avoid over-lighting before root establishment
Leafy green transplants100 – 18016 – 18 h6 – 11Even trays matter more than peak intensity
Cannabis clones / seedlings100 – 20018 h6 – 13Low intensity reduces stress while roots form
Herb cuttings80 – 15016 h5 – 9Rooting is humidity-driven; light supports but does not lead
Microgreens100 – 20012 – 16 h5 – 11Short cycles; tray density dominates the result

Ranges reflect published propagation guidance — a ~200 µmol/m²/s ceiling until root initials form and a target DLI of roughly 10–12 mol/m²/day for young plant production (Runkle, Supplemental lighting guidelines for young plants). Young-plant optima vary strongly with cultivar, substrate and humidity — validate on your own trays before standardising a recipe.

Propagation lighting options compared
OptionDistributionEfficiencyBest fitWatch out for
Fluorescent tubes (legacy)Even, low intensity, provenLow µmol/J; heat into the roomExisting racks with no retrofit budgetDisposal, tube breakage, declining output
Low-power LED barsEven across tray width; close mountingHigher µmol/J than fluorescentNew propagation racks and retrofitsCheap bars with poor sealing fail in misting rooms
Higher-output LED bars, dimmedGood if bar spacing is correctHigh µmol/J at design pointRooms that must also serve early vegetative stageRunning at very low dim levels can reduce control resolution
Compact board fixturesConcentrated footprintHigh PPF per fixtureSmall rooms, mother stock, tall traysFewer fixtures mean larger uniformity gradients

A comparison of the practical differences that matter in a propagation room, not a claim that one technology is universally better.

Lighting system design

How to plan the system, step by step

The order matters: geometry and targets first, fixture count second, verification and control last.

  1. 1

    Map the rack and tray grid

    Draw the shelves, tray dimensions and access aisles. The lighting layout follows the tray grid: a bar centred over each tray row, with the bar length matched to the shelf rather than to the room.

  2. 2

    Set PPFD from the crop and stage

    Choose the intensity that produces compact growth without stress — commonly 100–200 µmol/m²/s for vegetable and cannabis propagation — then confirm the DLI at your photoperiod.

  3. 3

    Size the bar count from tray area

    Multiply tray-level PPFD by tray area, apply a utilisation factor of about 0.85 for edge losses, and divide by bar PPF. Round to whole bars per shelf so the distribution stays symmetrical.

  4. 4

    Check coverage at the tray edge

    The tray edge is the first place to fail. Verify a PPFD grid across the full tray width, not just under the bar centre, and adjust mounting distance or bar spacing until the edge is within the target band.

  5. 5

    Plan dimming for the ramp

    Propagation is the first step of an intensity ramp. Dimming lets the same fixture support rooted cuttings, established transplants and the first week of vegetative growth without changing hardware.

  6. 6

    Specify sealing, mounting and service access

    Choose sealed housings and protected drivers for misting rooms, and a mounting method that survives weekly tray handling. Confirm that a technician can clean and service fixtures without dismantling a shelf.

Worked example

Lighting a four-shelf propagation rack

Illustrative example — assumptions stated below, not client data

Assumptions

  • Shelf growing area: 1.2 m × 0.6 m = 0.72 m² per shelf
  • Shelves: 4 → 2.88 m² total tray area
  • Target tray-level PPFD: 150 µmol/m²/s
  • Photoperiod: 18 h
  • Bar basis: 100 W rack bar — 250 µmol/s PPF at 100 W (2.5 µmol/J, product record); bar length 1,045 mm
  • Utilisation factor: 0.85
StepCalculationResult
DLI check150 × 18 × 0.00369.7 mol/m²/day — inside the seedling planning range
PPF required per shelf150 µmol/m²/s × 0.72 m²108 µmol/s at tray level
Installed PPF per shelf including losses108 ÷ 0.85≈ 127 µmol/s
Bars per shelf127 ÷ 250 µmol/s per bar0.51 → one bar per shelf
PPFD check at full bar output250 × 0.85 ÷ 0.72≈ 295 µmol/m²/s — almost twice the target, so the bar must be dimmed rather than switched on at full output
Required dim level, expressed as a share of PPF127 ÷ 250≈ 51% of full PPF — a photon requirement, not a knob position
Dimming caveatmeasured PPFD at tray heightA 50% dim setting is not automatically 50% of the PPF: LED and driver response curves are often non-linear, and resolution is worst at the bottom of the range. Set the level against a measured reading and record the measured PPFD as the condition
Rack load budget4 × 100 W400 W at full output, so ≤ 7.2 kWh/day at 18 h — budget on the full-load figure and replace it with a measured input-power reading once the dim level is set
Coverage check1,045 mm bar over a 1,200 mm shelfThe bar does not span the shelf: expect falloff at both ends. Verify PPFD at the shelf end and at the 600 mm tray edge, not only under the bar centre

Propagation is a dimming-and-uniformity problem rather than a wattage problem: one correctly sized bar per shelf, set against a measured PPFD, gives more even coverage than fewer brighter fixtures. Two numbers above are deliberately kept separate — the 51% is a share of PPF, and the knob position that produces it has to be found by measurement, because dimmer travel and photon output are not the same scale.

Three different kinds of number

What this calculation is — and what it is not

The worked example above is an initial estimate. It is not a lighting layout, and it is not a verified PPFD. Keeping the three apart is what stops a photon budget from being quoted as delivered performance.

STAGE 1

Initial estimate

Tray-level PPFD × shelf area ÷ utilisation allowance ÷ bar PPF, expressed as bars per shelf and a target share of full PPF.

Arithmetic only. It tells you how many bars to order and roughly where the dim level must land — it does not predict the PPFD at the tray edge.

STAGE 2

Lighting layout design

Bar length against shelf length, mounting distance inside the shelf clearance, and the resulting PPFD grid across the tray including both ends and the outer edge.

A design deliverable: a tray-level grid, the minimum-to-average ratio, and the dim-setting-to-PPFD relationship for the chosen driver.

STAGE 3

Verified PPFD performance

Measured PPFD at tray level per shelf, after the dim level has been set, with a calibrated sensor and the mounted bar height recorded.

Measurement data only. In a propagation room this should be repeated per shelf and again after any change of tray type, because the weakest shelf sets the batch.

Fixture selection

Which grow light types fit this application

Selected from the six fixture categories we manufacture; the right mix depends on ceiling height, canopy structure and control requirements.

Propagation and rack bars

Primary lighting for propagation shelves and racks

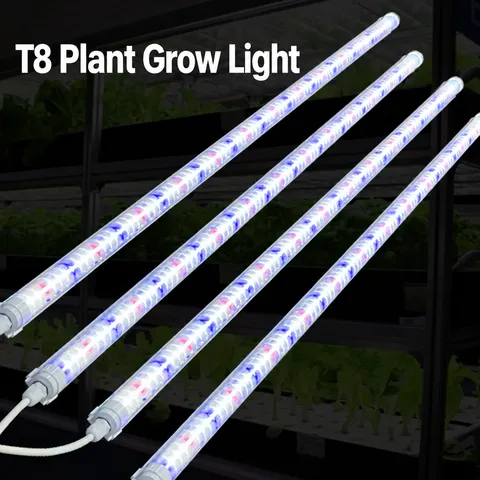
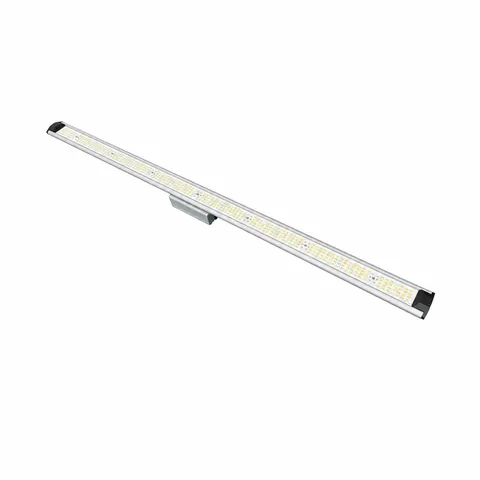
Slim bars match shelf length, spread light evenly across the tray width, and can be daisy-chained across many small fixtures.

Low-power bars for microgreen trays

Close-mount lighting for short-cycle trays

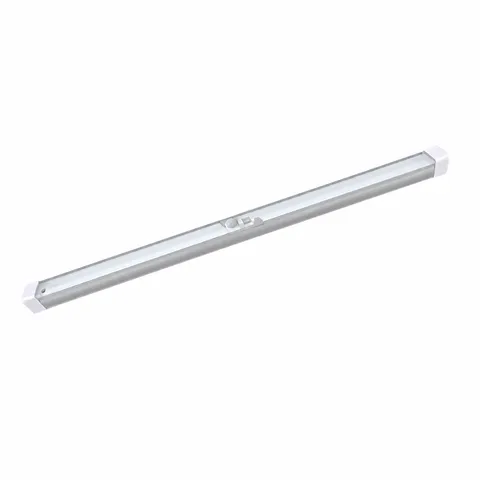
Low wattage keeps leaf temperature down at very short mounting distances and reduces heat in an already humid room.

Compact board fixtures

Mother stock, tall trays and small propagation rooms

Boards concentrate PPF where shelf length is short and a bar would over-shoot the tray footprint.

OEM & ODM

Project support for brands and importers

We build fixtures to a specification, document what was built, and support the certification and packaging work that a private-label programme needs.

  • Bar lengths matched to your shelf and tray dimensions
  • Spectrum options tuned for rooting, transplant establishment or compact growth
  • Sealed housings and driver protection for misting and high-humidity rooms
  • Daisy-chain and low-voltage control options for dense rack installations
  • Sample bars for a single shelf trial before a full-rack order

Common mistakes

Planning errors that are expensive to fix later

Each of these shows up after installation, when the layout is already fixed and the circuits are already run.

MistakeWhat to do instead
Using flowering fixtures at low dim on propagation racksA high-output fixture dimmed far down often loses control resolution and still concentrates light in the centre. Low-power bars spread across the shelf give better uniformity.
Designing to the average PPFD of the roomDesign to the tray edge. The weakest tray position determines the batch, and the tray edge is almost always the weakest position.
Running a long photoperiod to compensate for low intensityA 24-hour photoperiod changes plant morphology and can stress young plants; reach the DLI with a sensible combination of intensity and a 16–18 hour day.
Ignoring the humidity and misting environmentSpecify sealed housings and protected drivers for propagation rooms; dry-room fixtures fail early where misting is routine.
Treating propagation in isolation from the next stagePlan the propagation recipe as the first step of a ramp so transplants are ready for the vegetative room’s intensity rather than shocked by it.

Technical references

Every technical figure on this page is traceable to one of the sources below. Each entry gives the publication, its author or issuing body and year, a resolvable link, and the specific claim on this page that it supports — an institution name on its own is not evidence, and no manufacturer marketing material is used here as independent research. All links were checked and resolved on 19 October 2026.

  1. 1
    Improve Rooting of Cuttings

    Runkle E., Michigan State University Extension Floriculture Team

    Supports on this page: The ~200 µmol/m²/s ceiling on intensity until root initials have formed, the 50–75 µmol/m²/s supplemental range, and the requirement that light during early rooting be diffuse rather than concentrated.

  2. 2
    Managing Light During Propagation

    Lopez R.G. & Runkle E.S., Michigan State University research, hosted by Purdue University Controlled Environment Agriculture

    Supports on this page: The DLI-based framing of the propagation recipe and the finding that root growth increases with the daily light integral during rooting.

  3. 3
    Supplemental Lighting Guidelines for Young Plants

    Runkle E., Michigan State University Extension / Greenhouse Product News, January 2010

    Supports on this page: The 10–12 mol/m²/day young-plant DLI target cited in the table note, and the statement that supplemental lighting value falls away once that band is reached.

  4. 4
    ANSI/ASABE S640 — Quantities and Units of Electromagnetic Radiation for Plants

    American Society of Agricultural and Biological Engineers, standard S640 JUL2017 (reaffirmed 2022)

    Supports on this page: The separation between bar PPF in µmol/s and tray-level PPFD in µmol/m²/s, which is what makes the “share of PPF” versus “knob position” distinction meaningful.

  5. 5
    Horticultural Lighting Technical Requirements, Hort V4.0

    DesignLights Consortium, technical requirements effective 18 April 2025

    Supports on this page: Comparing propagation bars at a stated test configuration and dim level rather than on a headline efficacy number or a single-point reading.

Where a source could not be confirmed as publicly accessible, the claim it would have supported has been written as a lower-certainty statement rather than given a citation. Planning ranges remain starting points for your own trials — they are not guarantees of performance, and no figure on this page is a quotation.

Industry FAQ

Propagation & Seedlings lighting questions

Specific follow-up questions about this application, answered directly and then explained.

What PPFD do seedlings and clones need?

Commonly 100–200 µmol/m²/s at tray level over a 16–18 hour photoperiod, which gives roughly 6–13 mol/m²/day. Young plants are easily over-lit, so the aim is the lowest intensity that produces compact growth with even trays, not the highest the fixture can deliver.

Why can’t I use high-power flowering lights on propagation racks?

Because the racks need even, low-intensity light close to the tray. A high-power fixture concentrates output in the centre, cannot be dimmed evenly across a shelf, and adds heat directly above young plants. Low-power bars distributed across the shelf produce better uniformity at the same or lower total wattage.

How many bars do I need per propagation shelf?

Multiply the tray-level PPFD by the shelf area, divide by a utilisation factor of about 0.85, then divide by the PPF of one bar. A 1.2 m × 0.6 m shelf at 150 µmol/m²/s needs about 127 µmol/s installed, which is roughly half the PPF of a 250 µmol/s bar — so one bar per shelf, dimmed. Find the dim position by measuring PPFD at tray height rather than by assuming the knob’s halfway mark is half the photons.

Is uniformity really more important than intensity in propagation?

Yes, for batch consistency. Uneven light produces uneven transplant readiness, which complicates scheduling for the next stage. A slightly lower but even PPFD usually outperforms a higher average with dim corners and a bright centre.

What spectrum keeps seedlings compact?

A balanced full spectrum with a meaningful blue component supports compact growth under low intensity. Extreme red-dominant recipes tend to promote extension in young plants, so they are better reserved for later stages where the canopy is already established.

How long should propagation lights run?

Typically 16–18 hours. Longer photoperiods can be used at very low intensity for some crops, but they change morphology and leave less dark period for respiration and development. Confirm the response for your crop rather than extending hours to compensate for weak fixtures.

Do propagation lights need a higher IP rating?

In rooms with overhead misting or frequent washdown, yes — IP65 with sealed drivers is the practical minimum. Humidity in propagation is continuous rather than occasional, and unsealed drivers are the most common early failure point.

Planning a propagation & seedlings lighting project?

Send the growing area, crop and stage, target PPFD or DLI, ceiling or layer height and your market requirements. We will come back with a fixture proposal, a layout suggestion and the documentation you need to evaluate it.